Creating a software development environment around Vim
Published 16:00 13th May 2022

Introduce
In the previous post, I introduced you to the basic operations with Vim, in the hope that you will have a little interest in this toy. And today I will start building the surrounding environment to create more interest in working with Vim in particular and command line unix in general.
Font
Fonts are quite important, for me, I have been using Fira Nerd Font for about a year and I am very satisfied with it. Depending on the taste of each person, you can choose the font you like. Also, for Terminal, you need to pay attention to choose mono font, especially next I need nerd font. So I recommend you this website to find the font that suits you best.
https://www.nerdfonts.com/font-downloads
Terminal
As a web developer, I often spend a lot of time typing commands. Therefore, choosing the right software is also relatively important. My criteria is, nice interface, support font ligatures, change line height for easy-to-see text, cross platform because I use both windows-wsl and ubuntu. At the moment, there are many options for you, such as iTerm2 for macOS, Windows Terminal /microsoft/terminal) for Windows, Kitty for Unix systems, Alacritty cross -platform is quite appreciated by the community. I myself am using WezTerm. And in this series, I will install HyperJS separately to demo for you.
In addition, HyperJS, is a terminal built on Electron - NodeJS. The reason I chose it is because it's easy to configure when its config file is a js file exported to json, quite easy to edit, supports connecting to WSL2 (because I downloaded the ubuntu22.04 version that only supports wsl2). You can learn more about each config of each terminal type in the respective documentation.
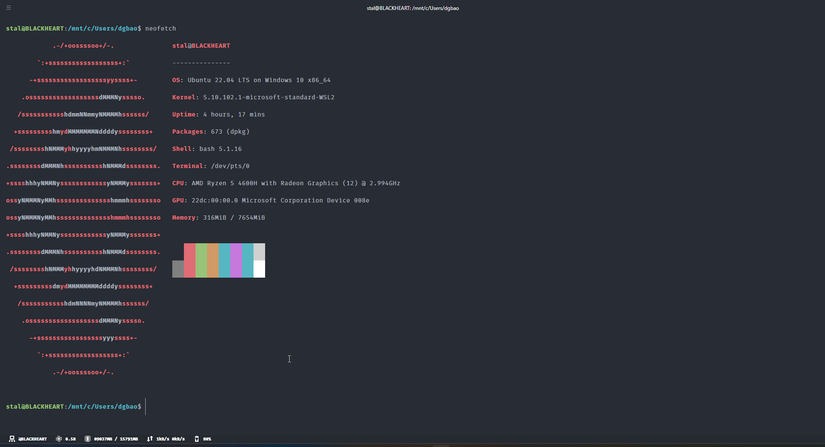
Here is my terminal with font FiraMono NF, lineHeight 2, letterSpacing 1.5, plugins hyper-one-dark (theme), hyperline (system status line below)
Shell
The shell is a software interface that compiles what we type for the kernel to process and returns the results. ubuntu default shell is bash. And I don't really like using bash. I suggest using zsh as an alternative. Also, look for a layer above zsh with a more user-friendly interface and convenient predefined aliases. You can refer to Oh my zsh and its genuine themes, for example Power Level 10k .
I want instant noodles, so I will install ZimFW with highlight and auto suggestion available. Here are the commands to set up the shell, you can refer to your respective operating system
sudo apt update && sudo apt install zsh -y
zsh
On the first launch, Zsh will ask some questions so that I can configure the shell as I want. I will choose 0 so that it creates an empty .zshrc file.
curl -fsSL https://raw.githubusercontent.com/zimfw/install/master/install.zsh | zsh
You notice if it asks for a password to change the default shell from Bash to Zsh, please enter it, if you accidentally press skip, you can use the command below to change it.
chsh -s $(which zsh)
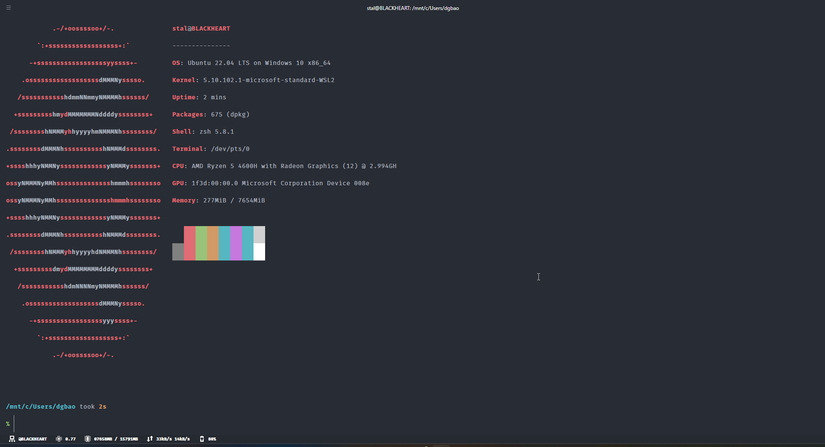
Then turn off the terminal and turn it back on. Sometimes when I use ubuntu, I have to restart completely, then the next time I open the terminal I get the default shell zsh
Zoxide
This is a super small package, but I still want to give it a place in my series about it. You can find its (extremely simple) installation here https://github.com/ajeetdsouza/zoxide. Since I use Ubuntu and shell Zsh, I will install using the command
curl -sS https://webinstall.dev/zoxide | zsh
Open .zshrc and add the declaration as it requires
vim ~/.zshrc
If you don't remember, open the file and type GO to put it on the bottom line, add a new line and enter Insert Mode, then you can paste or retype it as you like. Then press Esc to return to Normal Mode, then type :wq to save and exit. Then we need to declare the path as it says when installing and reload zshrc
source ~/.zshrc
Basically, all you need to do is use z instead of the shell's default cd. Zoxide remembers the path. The next time you just write a paragraph in the path to the position you need to cd to, it will automatically search for the most frequently used, related path results for you.

Summary
Because I often use Vim directly on Terminal, with this article, I hope to show you the environment that I will use to manipulate Vim in particular and CLI in general. See you in the next posts!